
Here's what I used:
- Clean Cut - Silhouette Fabric Interfacing
- Fabric blade
- Miss Vickie's CuttingCrazy Blog freebie (I used the knife tool to remove the second heart)
- canvas
- piece of fabric slightly larger than the canvas
- transfer tape (optional)
- fabric glue
Here I am attaching the rough side of the interfacing to the wrong side of the fabric:

After I ironed it and peeled off the paper backing this is what I got:

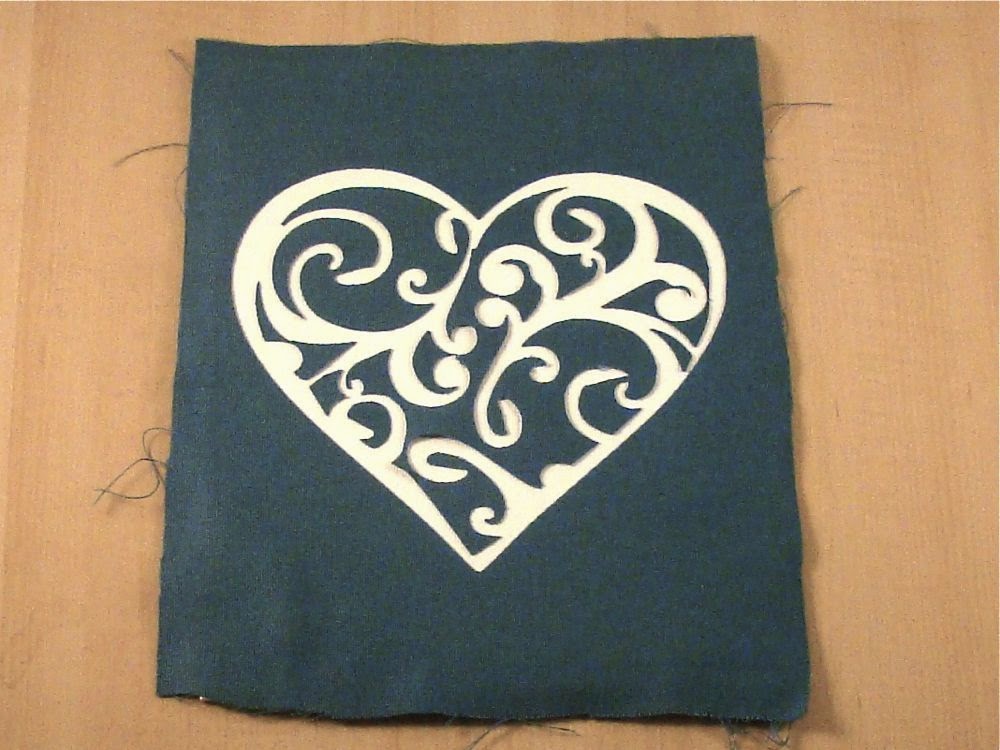
After cutting the fabric (don't forget to use the fabric blade!!) you can remove the heart shape:

Used a little scissor to help out a little ;)


I used transfer tape to pick up all the pieces of fabric from the mat, but you could even do it one by one and use the heart shape as a guide when pacing on the canvas.


That's it! An afternoon project - if you don't have little ones around... I had to do mine after they were both nicely tucked into bed. They go crazy if they see my Cameo working! I gotta tell them, hey that's my toy, go play with something else (if only that would work...). But Toby has become much more cooperative and I have ventured some Silhouette projects with him around. I let him press the enter button when it's all done and he loves doing that. But then I gotta be real quick and wind everything up before things get messy and out of control! heheheh
That's it for now!
No comments:
Post a Comment