

What you need:
- patterned fabric - as inspiration for appliqué
- tracing paper and marker
- camera or scanner
- plain fabric (coordinating with the patterned one)
- Silhouette clean cut fabric interfacing (you could use the sewable one if you don't want to hand stitch your appliqué)
- Silhouette fabric blade
- Embroidery thread
- Silhouette Studio installed in your computer
- CAMEO will give you space for larger apliqués, like this one, but you could use the Portrait for smaller projects
- Sewing machine
- Use tracing paper on top of the fabric to get the outline for the design.


- Take a picture (or scan it). Open it in Silhouette Studio and use the "tracing tool" to get the cutting lines. I used the duplicate tool as well to compose the design according to the fabric. My final cutting lines were as follows.

- Prepare the fabric that will be cut with the Silhouette. I used Silhouette's clean cut fabric interfacing and followed the instructions in the package.


- Load the mat with the fabric side facing upwards and CUT! Oh, don't forget to change your blade to one that you use only with fabric.

- Transfer the cutout pieces to the fabric that will be stitched, and iron.

- Blanket stitch the appliqué onto the fabric. Of course, here you have a few options if you don't want to go the long way. You could always machine stitch it if you are using the sewable interfacing.

- Once the panel is done, use it to stitch the cushion (sorry about the dark picture, this was late at night and I was too excited to finish the project to set up proper lighting!)

And there you go!

Here is a closer view:
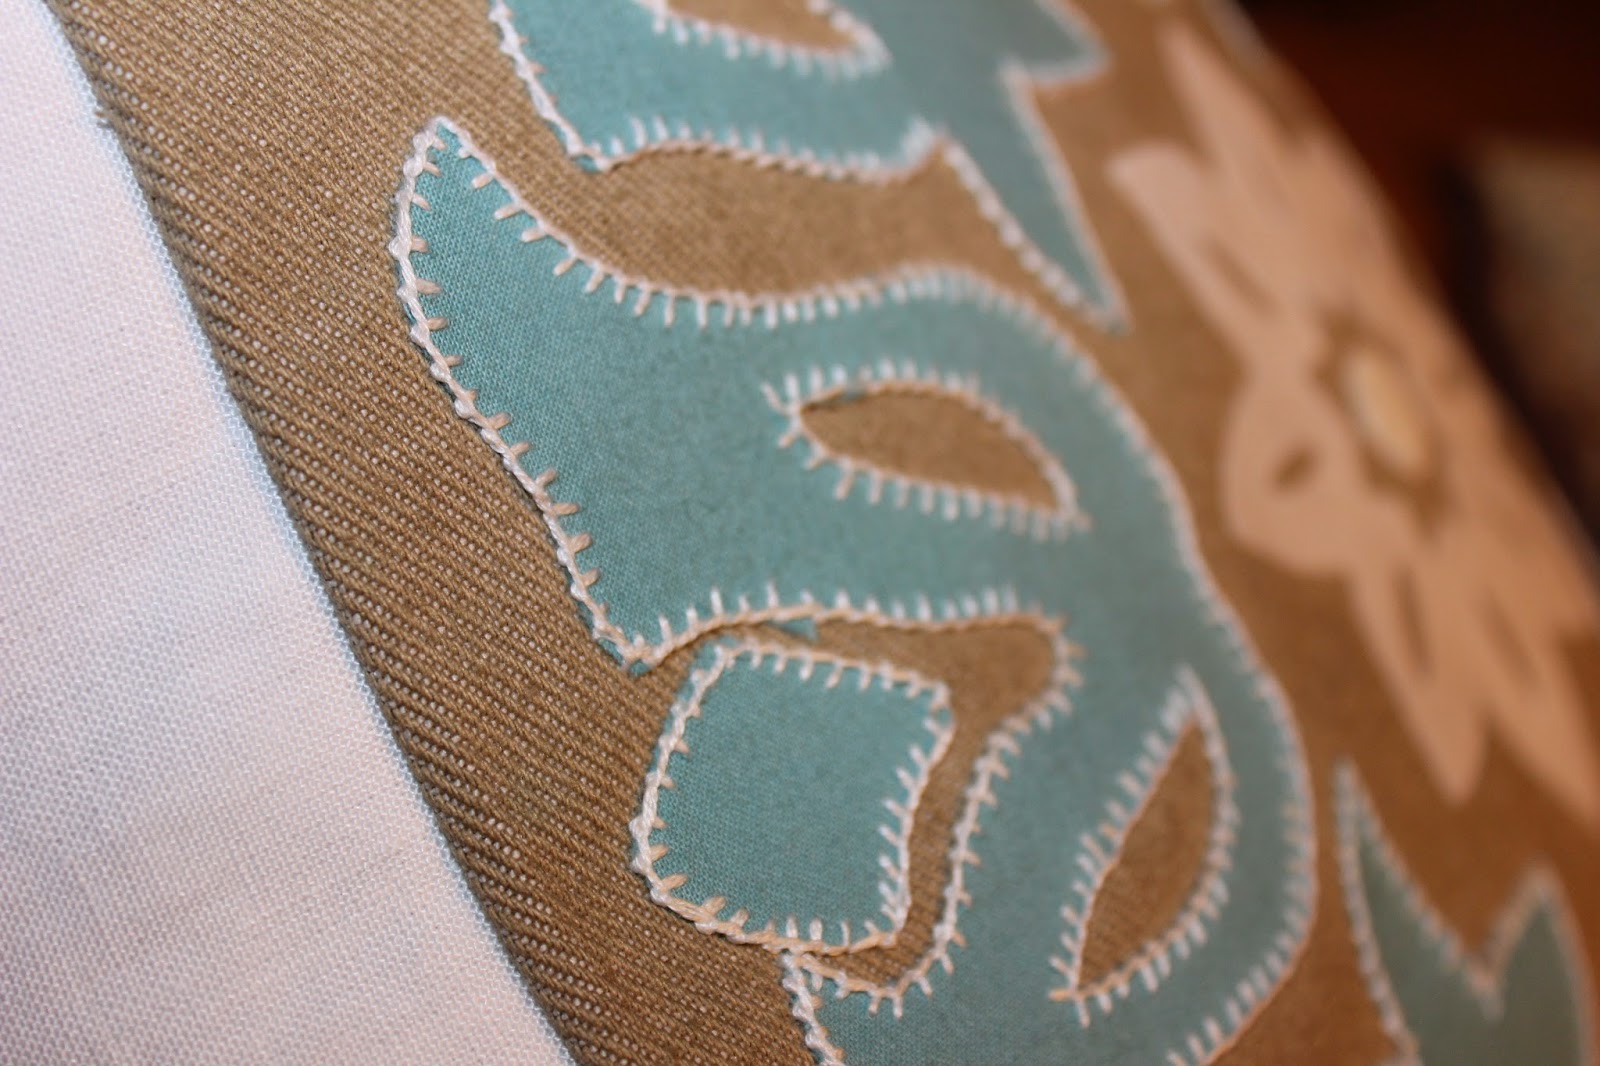
I am totally in love with it!

Thank you for stopping by today!
No comments:
Post a Comment